


Upgrading your laptop's memory is one of the most effective ways to enhance performance, reduce lag during gaming sessions, and improve multitasking capabilities. If you're experiencing slow performance, game stuttering, or application freezing, your laptop's RAM might be the culprit. Installing SODIMM (Small Outline Dual In-Line Memory Module) RAM is a straightforward process that most laptop users can accomplish without professional assistance. This comprehensive guide walks you through every step to ensure a safe, successful installation.
Why Upgrade Your Laptop's SODIMM RAM?
Modern gaming and professional applications demand significant memory resources. Whether you're a gamer looking to boost frame rates or a content creator handling large files, upgrading from 8GB or 16GB to 32GB SODIMM RAM can dramatically transform your laptop's capabilities. At Honeybee Technologies, we provide premium quality SODIMM RAM modules from trusted manufacturers like Crucial, G.Skill RipJaws, Kingston Fury, and Corsair—all designed to maximize your gaming and productivity performance.
The beauty of SODIMM upgrades lies in their affordability and simplicity compared to other hardware modifications. Before diving into the installation process, however, understanding your laptop's current specifications is essential.
Pre-Installation Preparation: Know Your System
Before purchasing and installing SODIMM RAM, verify your laptop's current memory configuration and compatibility requirements.
Check Your Current RAM:
- Press Windows + X and select "System"
- Note your current RAM capacity and type (DDR4 or DDR5)
- Check your laptop manufacturer's manual for maximum memory support
Critical Compatibility Note:
DDR4 and DDR5 SODIMM modules are NOT interchangeable. These use different pin layouts and physical notches that prevent installation in incompatible slots. You cannot upgrade a DDR4 laptop to DDR5 without replacing the motherboard—each laptop is designed for either DDR4 or DDR5 at manufacturing. Verify your system's memory type before purchasing any upgrades from our SODIMM RAM collection.
Gather Your Tools:
- Anti-static wrist strap (essential for ESD protection)
- Small Phillips screwdriver
- Flashlight or headlamp for visibility
- Soft cloth for cleaning contact points
Step-by-Step SODIMM Installation Guide
Step 1: Power Down and Discharge Static Electricity
Shut down your laptop completely. Do not use sleep mode—power off entirely. Once powered down, unplug the power adapter and close the lid for two minutes to allow residual power to dissipate. This prevents accidental damage from static electricity discharge. Wear your anti-static wrist strap, grounding yourself to the laptop's metal chassis while working.
Step 2: Access Your Laptop's Memory Compartment
Flip your laptop upside down and locate the small access panel on the bottom. Most laptops have a dedicated RAM compartment secured with one or more Phillips screws. Carefully remove these screws and set them aside in a safe place. Gently pry the panel open using your fingernail or a plastic tool—never use excessive force, as you could damage the panel or internal components.
Step 3: Locate the SODIMM Slots
Once the panel is open, locate the SODIMM slots. These appear as small rectangular slots with metal clips on both ends, typically positioned near the center of the motherboard. Existing RAM modules will likely be visible, inserted at approximately a 45-degree angle. If your laptop has room for two modules, you may see one occupied slot and one empty slot.
Step 4: Remove Existing RAM (If Necessary)
If upgrading existing memory, gently push the metal clips outward on both ends of the occupied SODIMM slot. The module will pop up automatically. Hold the module by its edges—never touch the golden contact pins—and pull it away at a 45-degree angle. Place the removed module carefully on a non-static surface, such as your anti-static wrist strap or a cloth.
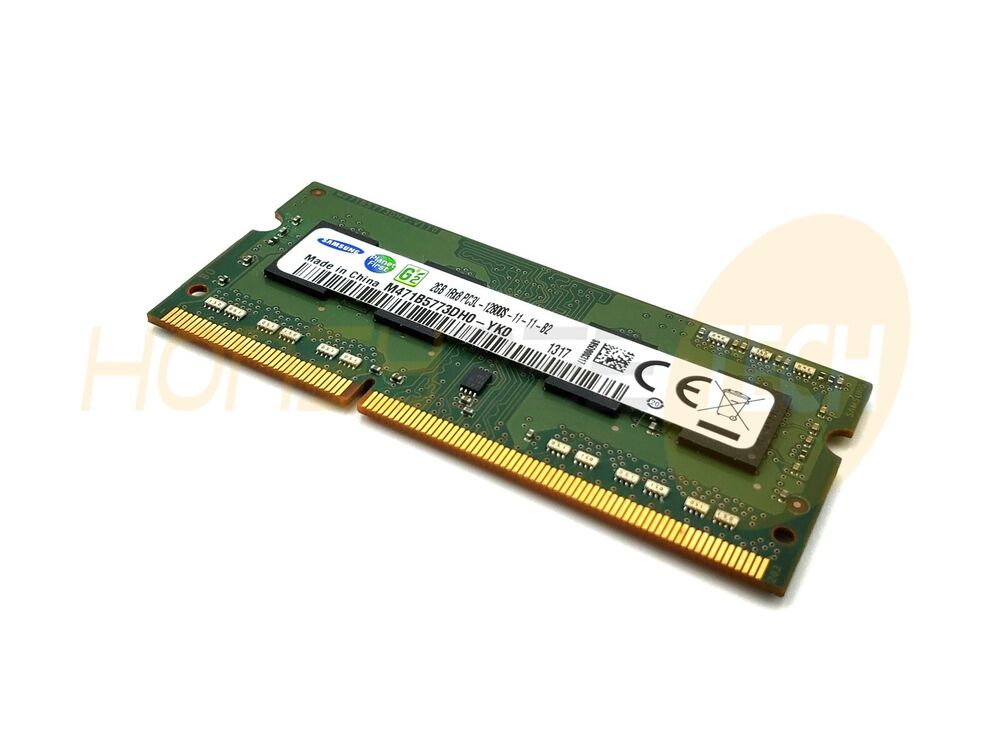
Step 5: Insert New SODIMM RAM Correctly
Align your new SODIMM module with the slot's notch and ridge. The golden contact pins should face the slot opening. Position the module at a 45-degree angle, ensuring the notch on the module aligns perfectly with the ridge inside the slot. This alignment prevents installation errors and potential damage.
Firmly push the module into the slot using steady, even pressure on both corners. You should hear a distinct clicking sound as the retention clips lock into place. If resistance occurs without clicking, stop immediately. Remove the module and realign it—never force a SODIMM into a slot.
Step 6: Verify Proper Seating
Once installed, only a thin line of golden pins (approximately 1/16th of an inch) should remain visible. If more of the golden contacts are exposed, the module isn't fully seated. Gently press down on the top of the module until you hear the second click, confirming full insertion. Both retention clips should snap inward automatically, securing the module in place.
Step 7: Reinstall the Access Panel and Reconnect Power
Carefully position the access panel back over the compartment and secure it with the original screws. Ensure all screws are tightened securely but not over-tightened, which could crack the panel. Reconnect your power adapter and power on your laptop.
Verifying Your New SODIMM Installation
Boot your laptop normally and check that Windows recognizes your new RAM:
- Right-click "This PC" and select "Properties"
- Verify the total installed RAM matches your upgrade
- Check that the new capacity is displayed (e.g., "32 GB" instead of previous capacity)
Run your system's Device Manager to ensure no warning symbols appear next to memory devices. Your laptop should immediately feel more responsive, with faster application loading and smoother multitasking performance.
Gaming Performance Benefits of SODIMM Upgrades
For gaming enthusiasts, upgrading to high-performance SODIMM RAM delivers measurable improvements. Gaming-grade modules like our Crucial DDR5 SODIMM or G.Skill Ripjaws DDR4 modules reduce frame stuttering, improve load times, and support demanding titles with higher graphics settings. Upgrading from 16GB to 32GB is particularly beneficial for modern AAA games that consume 10-15GB during gameplay.
Visit our complete SODIMM RAM collection to find the perfect module for your gaming laptop.
Frequently Asked Questions (FAQs)
Q: How long does SODIMM RAM installation take?
A: Most installations take 10-15 minutes for users with basic technical knowledge. First-time installers may require 20-30 minutes.
Q: Is it safe to install SODIMM RAM myself?
A: Yes, when following proper ESD precautions. Using an anti-static wrist strap, avoiding static surfaces, and handling modules by their edges minimizes risk significantly.
Q: Can I install SODIMM RAM while the laptop is powered on?
A: No. Always power down completely and wait two minutes before beginning installation. Hot-plugging RAM can cause permanent damage.
Q: What if my new SODIMM isn't recognized after installation?
A: Reseat the module by removing and reinstalling it, ensuring proper 45-degree angle insertion. Check BIOS settings to ensure memory is enabled. If problems persist, verify DDR4/DDR5 compatibility with your motherboard.
Q: How much performance improvement will I see from a SODIMM upgrade?
A: Upgrading from 8GB to 16GB typically yields 20-40% performance improvement for multitasking and gaming. Upgrading from 16GB to 32GB shows 10-20% gains for demanding applications.
Q: Should I install RAM in matching pairs?
A: Yes, for dual-channel performance, install matched pairs in the same-colored slots (if available) following your motherboard manual's recommended slot order.
Conclusion
Installing SODIMM RAM is a cost-effective, straightforward upgrade that significantly enhances laptop performance. By following this guide's step-by-step instructions and observing proper ESD precautions, you can safely upgrade your laptop's memory without professional assistance. Honeybee Technologies offers premium SODIMM modules from industry-leading brands, ensuring compatibility and reliability.
Ready to transform your gaming or productivity experience? Browse our SODIMM RAM collection today and select the perfect upgrade for your laptop. Whether you need DDR4 or the latest DDR5 technology, we provide quality modules backed by expert support.